 |
 |
Miwa Okamura's Stencil Dyeing
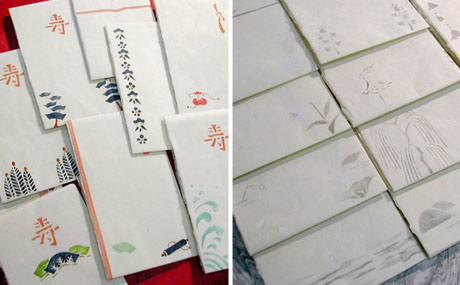
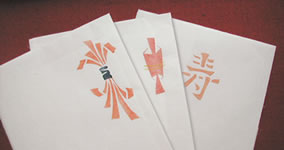
Elegant colors stencil-dyed on washi paper envelopes
|
Ever since Mingei movement founder Muneyoshi Yanagi wrote these words in 1937, Japanese people seem to have developed a preference for restrained elegance with a clear aversion to anything common and unrefined. We can see this in the eternal love of black in the world of fashion and in the choice of plain matte colors in lacqerware and natural ash glaze pottery. |
||
|
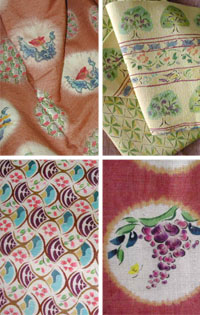
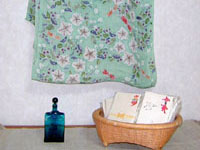
There is one craftsperson for whom simple design and subdued colors are the catchwords of her craft. Ms Miwa Okamura studied stencil dyeing while working at the International Folkcraft Museum in Kumamoto City, Kyushu. Since leaving her position at the museum she has been enjoying her time experimenting with dyeing. I remember her telling me once that the petals of the deep red Higo camellias that fell in her garden at the end of the spring produced a surprising charcoal grey. Discovering the many unexpected colors that come from sources close at hand is as thrilling for her as the creative joy she gains from putting color and pattern together. It is not easy to see Ms Okamoto's work. Occasionally she shows at the Japan Folkcrafts Museum and at the Western Japan Craftwork Exhibition. Otherwise she is busy dyeing lengths of kimono cloth, obis and tapestries for friends. |
|
|
|
||
|
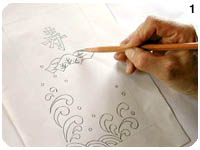
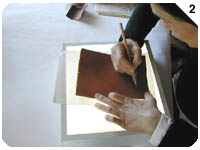
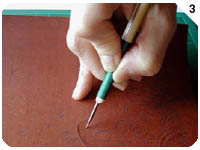
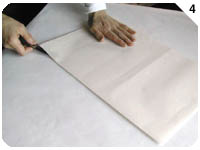
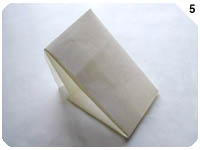
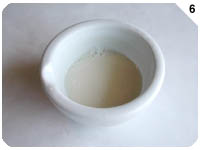
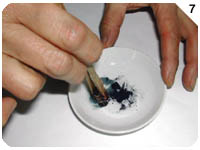
<How to make envelopes > Materials and tools
|
|
        |
|
|
